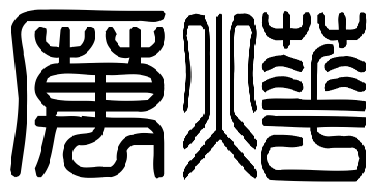
This week we were supposed to design a 3D mold, machine it, and cast parts from it. I wanted to create a design of my name written in an ancient Chinese font. So I went online to look for how my name would be written in one of the many ancient fonts. Chinese names are usually written as last name followed by first name. So the word on the left is my last name and the word on the right (which consists of two parts) is my first name.
I first traced the lines in Inkscape and saved them as .dxf files.
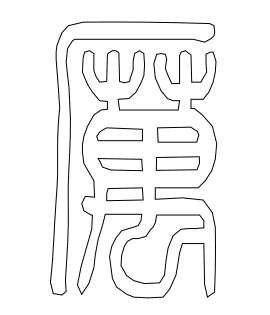
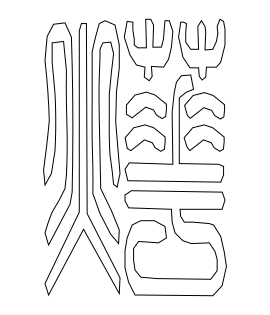
My first name (the one on the right) has a lot of details with long and tiny space in between. I was worried that the endmills we were going to use (1/8 of an inch and 1/16 of an inch) would not be fine enough to carve out all the details that constitute the word. So I decided to make a mold only of my last name, which is simpler. I imported the .dxf file into Rhino.
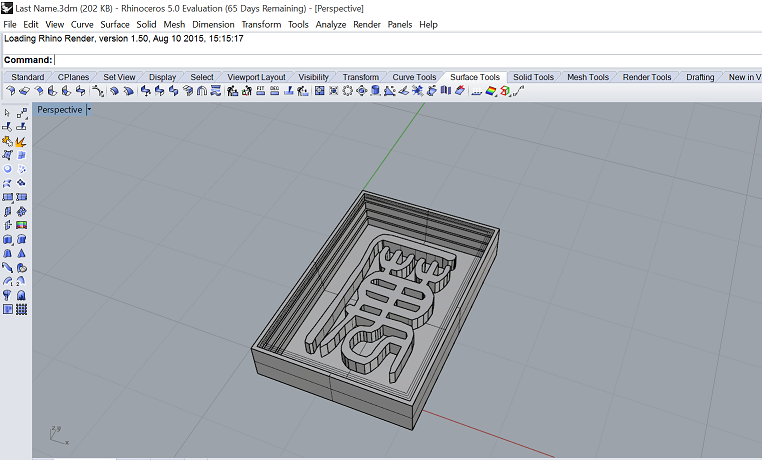
Oliver helped me tremendously on this design. He helped me add a step-wise "basin" around the extruded word. The word itself is 0.2-inch tall and height of the basin is 0.5 inch. The reason why we made the frame staircase-like was because I would be using the 1/16" endmill for the finish cut, and the length of the narrow part of the endmill was less than 0.5 inch. This would make sure that the endmill could go all the way down to the bottom of the basin without being obstructed by the thicker, upper part of the endmill.
I originally wanted my mold to be 4 in by 3 in, and this would take up the entire width of the wax block, which is 7 in by 3 in by 1.5 in. But for some reason when I imported the .stl file into fabmodules, the origin on the x/y plane was not placed on the lower left-hand corner of my design; instead, there was about a 0.5-inch gap between the origin and the lower left-hand corner. To avoid having trouble with the origin and not having enough space, I went back to Rhino to scale my design down to 3 in by 2 in, keeping the height of the basin at 0.5 inch. Here is the .stl file of the design.
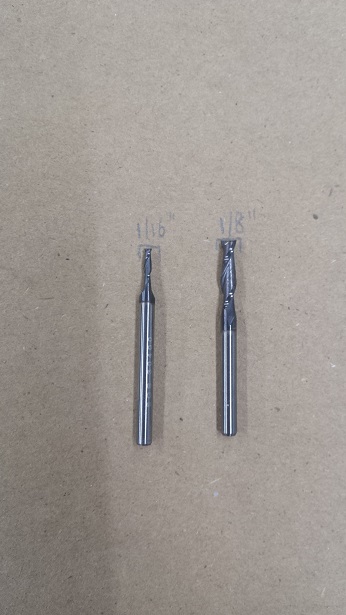
Here are the endmills I used - 1/8" for the rough cut and 1/16" for the finished cut.
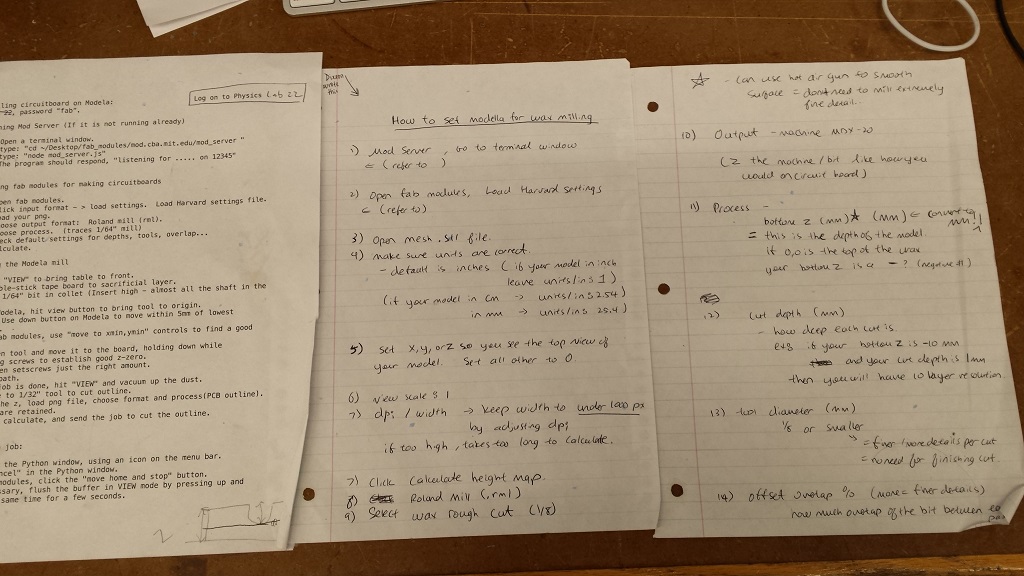
I worked with Albert for the most part this week. I followed some of the instructions that Dixon wrote out for the Harvard section:
Here are the rough-cut and finish-cut toolpaths sketched out by FabModules:
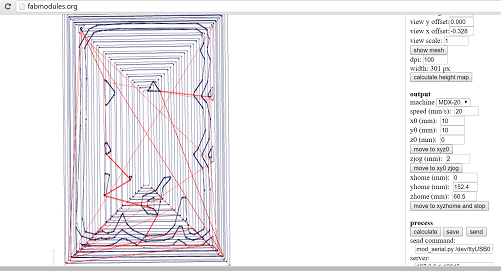

Settings:
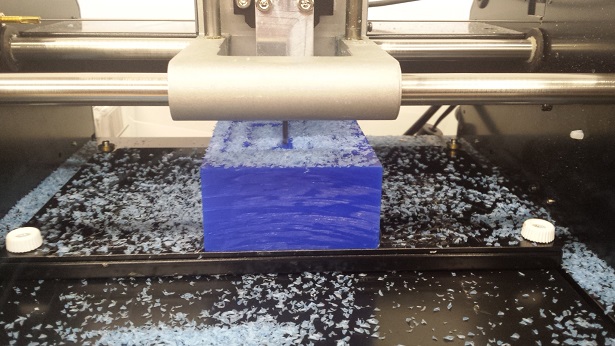
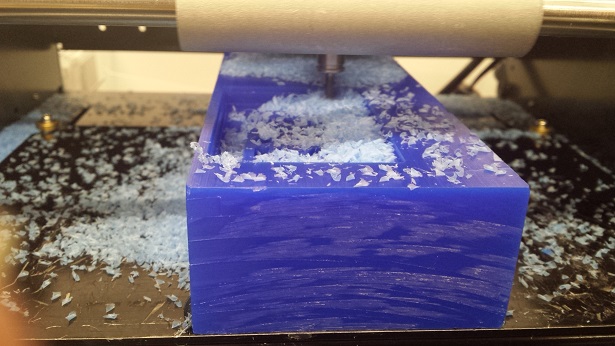
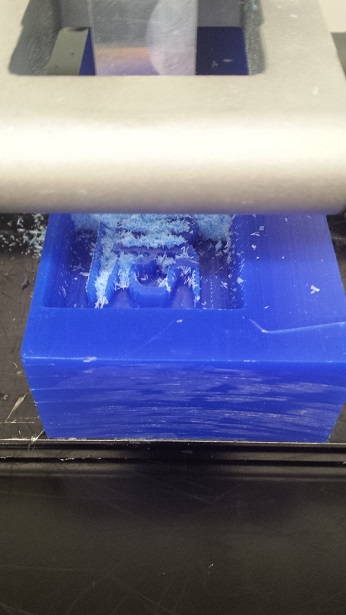
The milling process was pretty smooth-going. For the rough cut, the endmill was going around the block anti-clockwise whereas for the finish cut, the endmill went horizontally first then vertically. Here are some of the pictures of the milling process:
I also used the hotair gun to melt the rough edges and smoothen some of the surfaces a little bit:
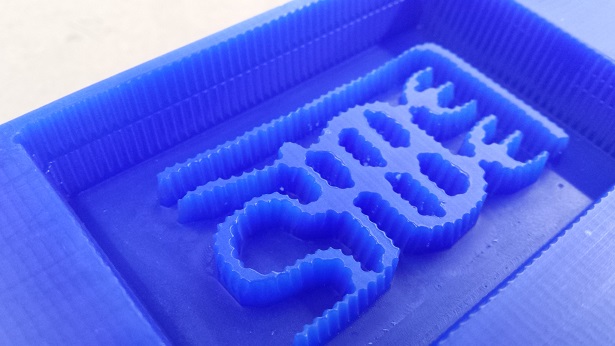
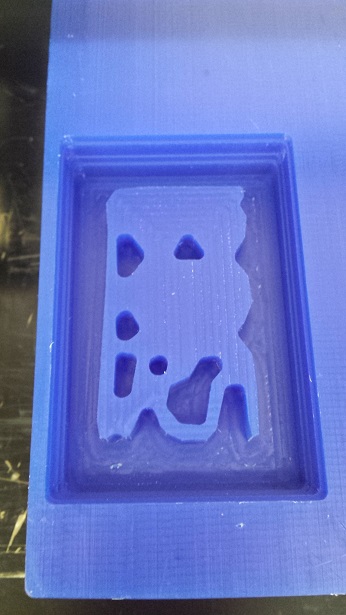
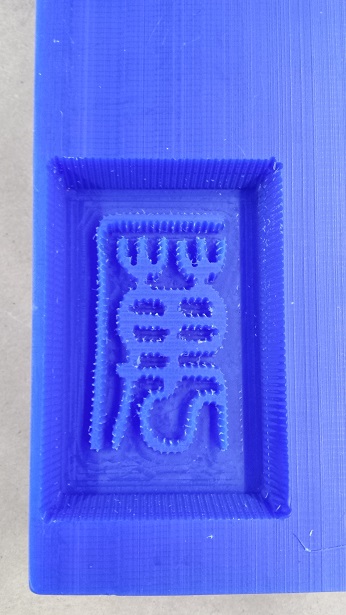
The strokes of the word turned out to be thinner than I expected. I didn't expect the finish cut to take away so much of the wax. Also, the side of the basin didn't turn out exactly like the design; instead of four steps there were only two. I think that the thicker upper part of the endmill did interfere with the cutting on the side a little bit. The word looked frizzy; I could have used a higher percentage for the offset overlap to make it smoother during the finish cut.
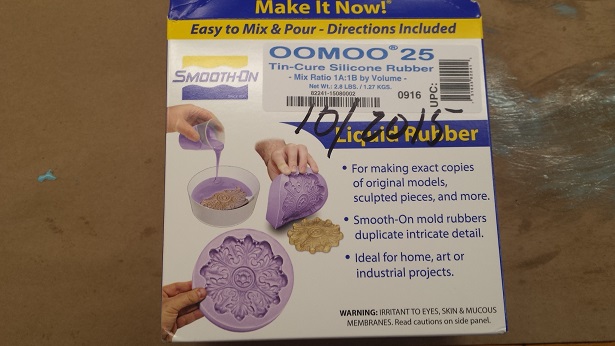
We used OOMOO 25 which is a silicone rubber compound.
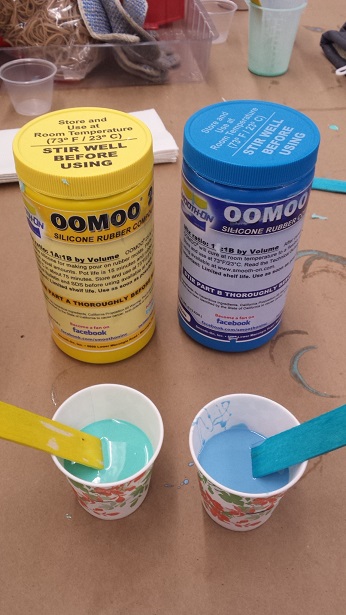
We used a mix ratio of 1:1 by volume. Oliver showed us a way to stir and mix the liquid without creating too many bubbles in it - by using the side of the ice cream stick to "slice" through the surface. I did a terrible job stirring the mixture, so I tried to use the vacuum pump to suck out the bubbles inside the liquid:
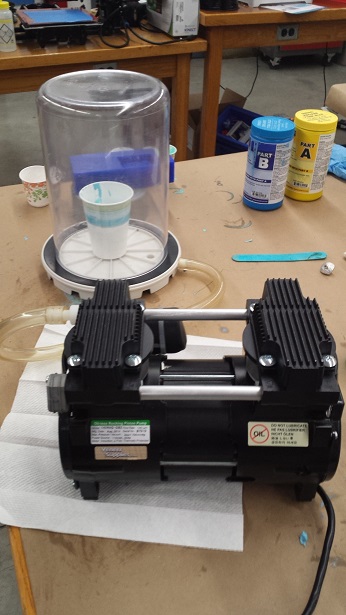
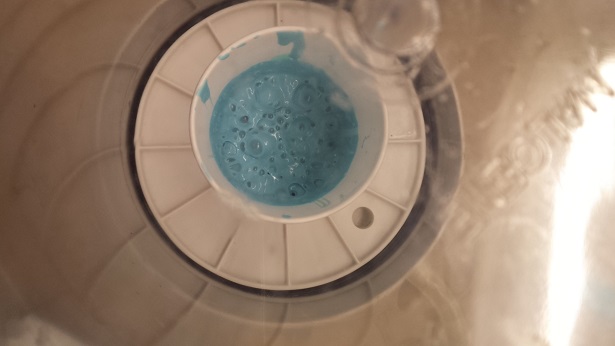
The view from the top while the vacuum was on was rather disgusting... As long as the pump was on, there were always bubbles being generated at the surface. So I couldn't tell exactly when all the bubbles inside the liquid were taken out. I decided to leave the pump on for a minute or two, which should be sufficient for all the bubbles inside to come out.
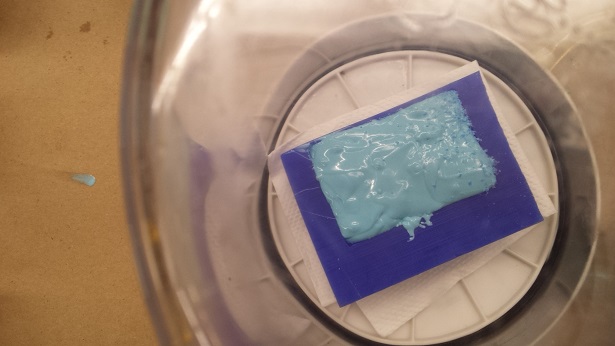
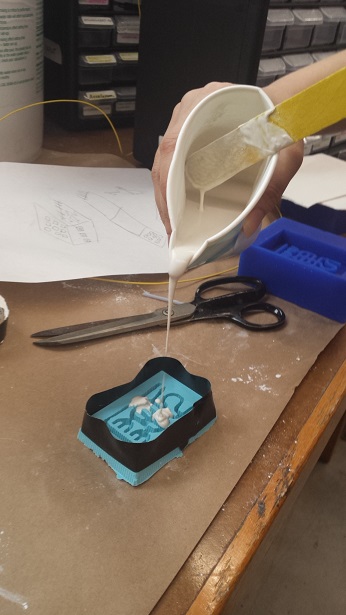
I then poured the OOMOO liquid into the wax, trying my best to make sure that the liquid went into the tiny pockets in the middle of the word. I also vacuumed the mold before leaving it to cure to a solid. The instruction sheet says that it would take about 75 mins to cure, but I left it overnight just in case.
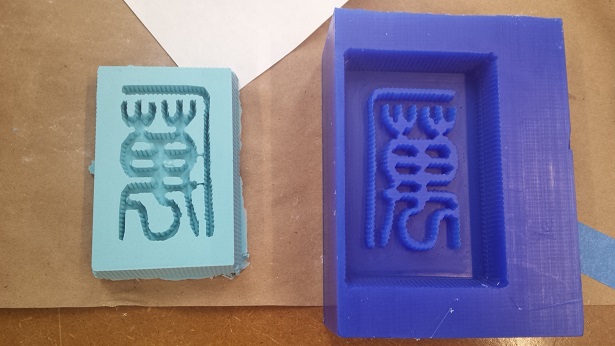
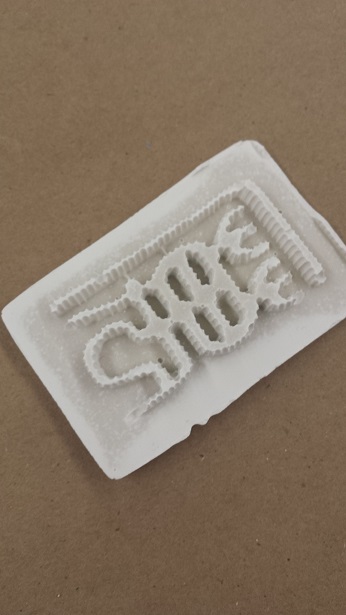
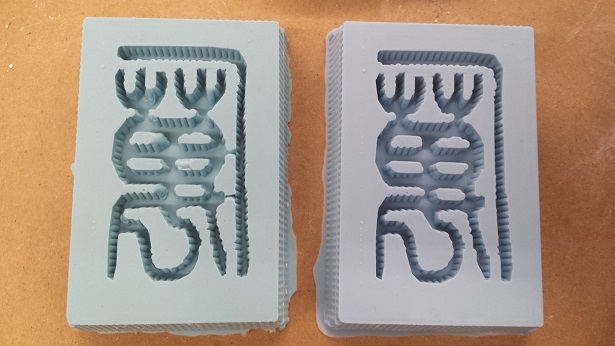
The next day I came in again to see how my OOMOO mold turned out. It wasn't perfect; in some parts the surface was not very smooth and there were missing parts on the mold as well. But I still went ahead and used it to cast a part.
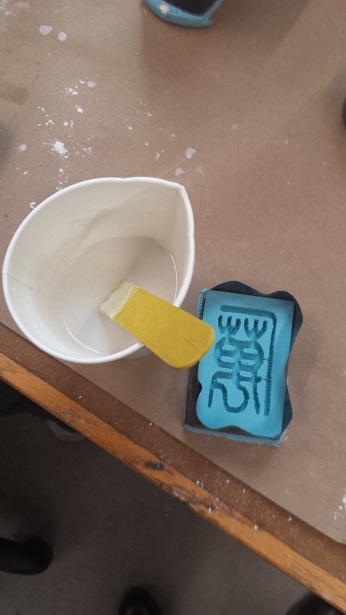
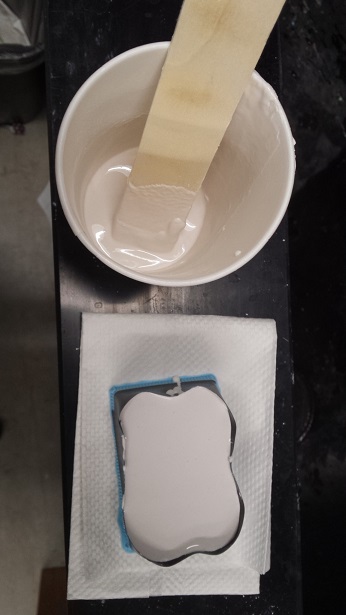
We first used drystone. The ratio of drystone powder and water is 100:18-20 by weight. We stirred the mixture until it had a greek-yogurt-like texture, and then we tapped it on the side to let the bubbles come to the surface. I put some tape around my mold to create a "wall" to hold the liquid in place. Then we left it to set for about an hour.
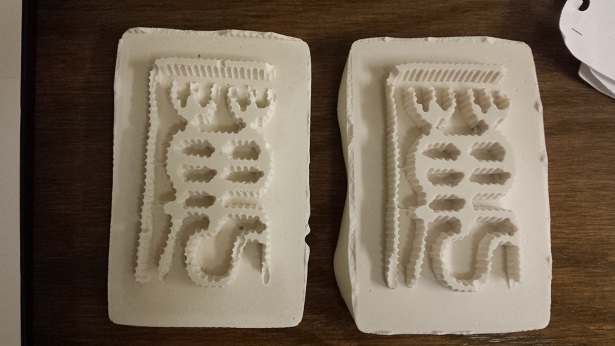
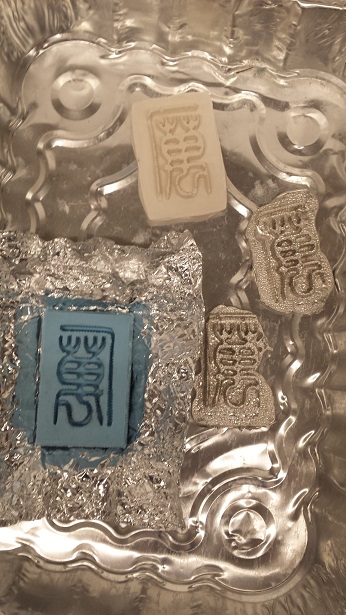
The first cast wasn't good because some of the details at the top and at the bottom were missing. There were bubbles too. I then made another cast with hydrostone, with a mixing ratio (hydrostone powder : water) of 100:32 by weight. I also made another OOMOO mold.
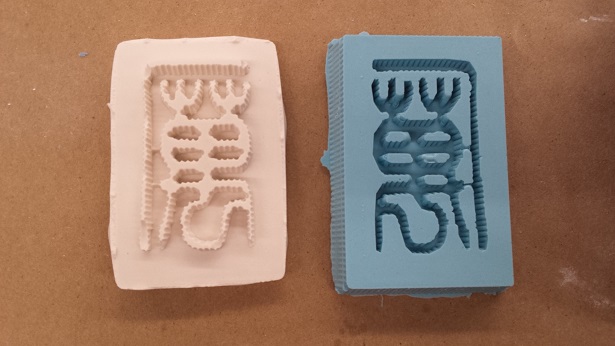
I came in the next day to see how the mold and the cast turned out. The second mold was much better than the first one. And the second cast (the one on the right) was also slightly better, with a little bit more details being captured. I think in order to make it better I could add a little bit more water to the mixture to make it more fluid, so that the liquid could go more readily into the finer parts of the word.
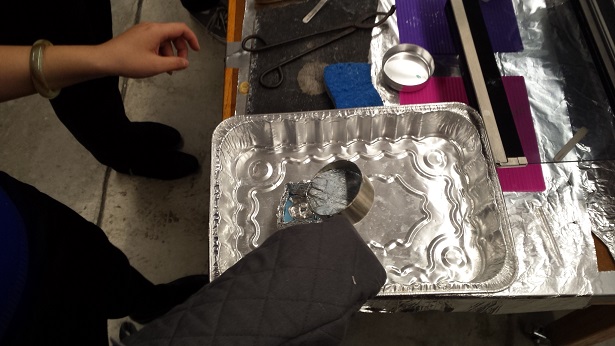
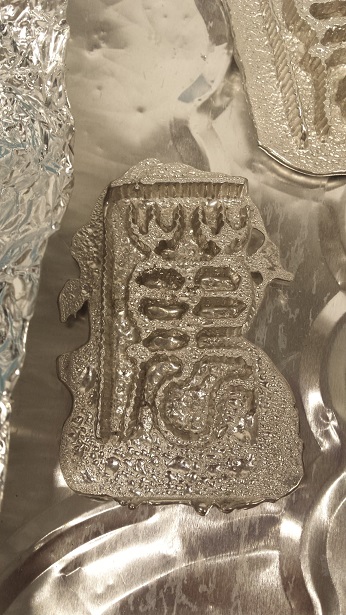
I tried to use the new OOMOO mold to cast several parts with the tin/bismuth alloy. I wrapped some aluminum foil around my mold to create a wall and set the toaster oven to 425 degrees for about 10 minutes. I made about five attempts; for some reason I couldn't get all the details of the word and sometimes it looked like there were air-bubble-like missing pieces on the metal surface. Oliver said that the metal might not have been hot enough, although Rob said that 400 degrees should be sufficient for us to pour it.
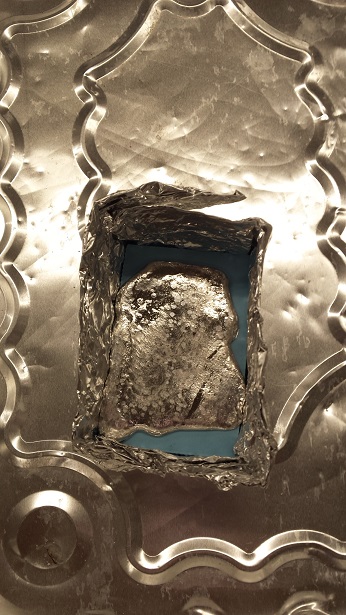
Here is a picture of the best metal cast I was able to get. The only part that was missing was at the lower right-hand corner. I think that to better capture the finer parts of the word, I should either try to use a tweezer or a knife to "tuck" the metal in while it is still a liquid, or try to tilt the mold a little bit to help the liquid metal reach the tinier ends.
Molding and casting has been a rather messy and somewhat frustrating process for me. But now I know how to make my own ice-cream/chocolate/pudding molds if I want to!